
How to Fix a Leaking Seal on Your Ranch Fiberglass Cap in 6 Steps
A leaking seal on your fiberglass truck cap can turn a minor annoyance into a major problem fast. Water intrusion damages cargo, promotes rust in the bed, and soaks bedliners that take days to dry.
Most Ranch Fiberglass Cap owners discover the leak after a heavy rain, when pooled water or damp spots appear along the bed rails or rear door jamb. The good news: you don’t need a mechanic. With basic tools and an hour of time, you can diagnose and fix most truck cap leaking seal issues right in your driveway.
This guide walks you through inspecting the seal, identifying the failure point, cleaning the mounting surfaces, and either reseating or replacing the weatherstripping to restore a watertight fit.
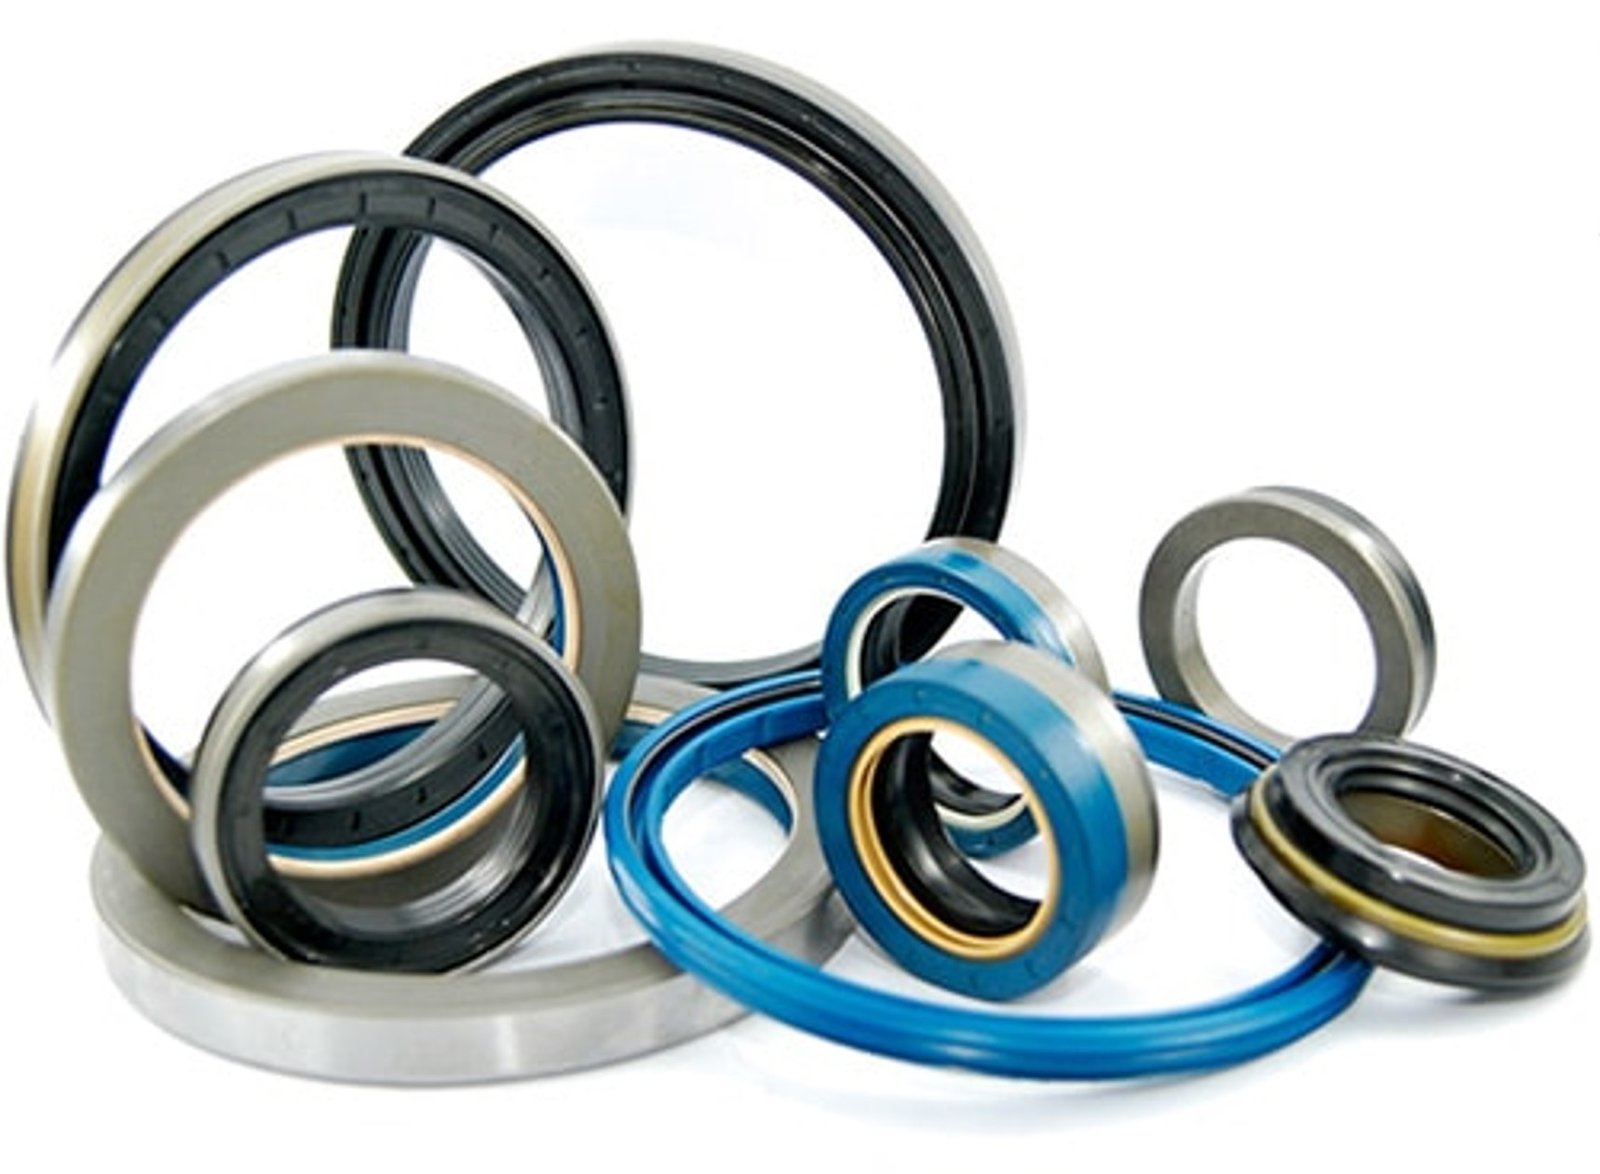
Locate the Leak Source Before You Start
Park on level ground and spray the cap with a garden hose, starting at the front and working toward the rear. Have a helper inside the bed watching for the first sign of water.
Most leaks trace back to three spots: the front header seal where the cap meets the cab, the side-rail bulb seals along the bed edges, or the rear door jamb gasket. The front header sees the most airflow and vibration, so check there first.
If water appears along one side only, suspect a mounting clamp that’s come loose or a bed-rail dent from an impact. If it’s dripping from the rear door corner, the latch striker may have shifted and the door isn’t sealing flush anymore—replacement mounting hardware can fix alignment issues in under ten minutes.
Clean the Seal and Mounting Surface Thoroughly
Why Cleaning Matters More Than You Think
Dirt, road salt, and oxidized residue prevent even a new seal from bedding down properly. Remove the cap if possible—two people can lift a fiberglass shell without a hoist—and set it on sawhorses.
Wipe the truck bed rail clean with isopropyl alcohol and a lint-free rag. Scrub any rust spots with a wire brush, then treat with a rust converter if the metal is pitted.
Inspect the seal channel on the cap itself. Old adhesive and grime build up in the groove where the bulb seal sits. Scrape it out with a plastic putty knife—metal tools can gouge the fiberglass—and finish with alcohol to ensure the new seal will bond.
While the surfaces are exposed, check for stress cracks around the fastener holes and bracket points that can compromise the seal’s compression over time.
Inspect and Test the Existing Seal
Run your hand along the entire perimeter of the bulb seal. A healthy seal feels firm and springy; a failed one is flat, cracked, or pulls away from the mounting channel with light pressure.
Look for compression set—permanent flat spots where the seal no longer rebounds. This happens when a cap sits installed for years without being removed, or when clamps are overtightened and crush the rubber.
If the seal is still pliable but simply dirty, you may be able to reuse it. Clean both the seal and the bed rail, then reinstall the cap with even clamp pressure. Test it with the hose again before calling it done.
When the seal is hardened or torn, replacement is the only fix. Match the profile exactly—Ranch caps use a specific bulb-and-tape design that differs from generic truck cap weatherstripping. The Ranch Fiberglass Cap manual specifies the correct seal part number for your model year.
Replace the Seal with the Right Technique
Start at the front center of the cap and work toward the rear on both sides simultaneously. Peel the backing tape as you go—don’t remove it all at once or the adhesive will collect dust.
Press the seal firmly into the channel, ensuring the bulb faces outward and the tape contacts the entire mounting surface. Avoid stretching the seal as you install it; stretching thins the bulb and creates gaps at the corners.
At each corner, cut the seal at a 45-degree angle and butt the ends together—overlapping creates a bump that prevents a flush fit. Some installers use a dab of silicone at the corner joints, but it’s not necessary if the cuts are clean.
Once the perimeter seal is in place, check the rear door gasket. It’s a separate piece that wraps the door frame. If it’s compressed or torn, replace it using the same clean-and-press method. Verify the door latch and striker hardware are aligned so the door pulls tight against the new gasket when locked.

Reinstall the Cap and Check Clamp Tension
Lift the cap back onto the bed with help—solo attempts bend mounting flanges and misalign the seal. Center it front-to-back so the overhang is even, then hand-tighten all clamps before snugging any one down fully.
Work in a star pattern, tightening opposite clamps incrementally. Over-torquing one side first twists the cap and crushes the seal unevenly. The bulb seal should compress about halfway—if it’s flattened to the point where you see the tape backing, you’ve gone too far.
Materials like EPDM rubber, commonly used in automotive weatherstripping, maintain flexibility across temperature swings but still require proper compression to seal effectively. Too tight and the seal takes a permanent set; too loose and it doesn’t contact the bed rail.
Keep Your Bed Dry with Routine Seal Maintenance
A leaking seal is one of the easiest truck cap problems to fix, yet it’s also one of the most commonly ignored until cargo is ruined. The repair takes an hour and costs less than a tank of fuel.
Inspect your Ranch Fiberglass Cap’s weatherstripping every spring, clean the mounting surfaces, and replace the seal at the first sign of cracking or compression set. That simple habit keeps water out and your bed in top shape for the next decade.
If the leak persists after seal replacement, check for structural flex in the cap itself or a bent bed rail that prevents even contact—those issues require more than weatherstripping to solve, but they’re rare on a properly installed fiberglass shell.
Common Questions About Truck Cap Seal Leaks
Most bulb seals last five to seven years in moderate climates. UV exposure, extreme heat, and road salt accelerate degradation.
If you park outdoors year-round in the Sun Belt or a winter salt zone, expect closer to four years. Garage-kept caps in mild climates can go a decade before the seal hardens enough to leak.
Silicone is a temporary fix at best. It doesn’t compress and rebound like a proper bulb seal, so it won’t maintain a watertight barrier once the truck flexes or the cap shifts under load.
Use it only as an emergency stop-gap until you can source the correct replacement seal. Caulk also makes future removal messier, since you’ll need to scrape away the dried bead before installing new weatherstripping.
Remove the cap once a year and inspect the seal for compression set or cracks. Clean the bed rails and the seal channel, then reinstall with fresh clamp tension.
Treat the rubber with a UV protectant spray designed for automotive trim—it slows oxidation and keeps the seal pliable. Avoid petroleum-based products, which break down EPDM and neoprene over time.
Yes. Standing water trapped under a cap promotes rust on the bed floor and along the inner bed rails, especially where the factory coating is chipped.
Bedliners slow the damage but don’t stop it—water migrates under spray-in liners and sits against bare metal. Fix the leak as soon as you spot it to avoid a costly bed replacement down the road.
Removing the cap makes the job far easier and ensures you clean both the truck and cap surfaces properly. One person working alone can sometimes peel the old seal and press in the new one with the cap still mounted, but alignment suffers and you can’t inspect the bed rails for rust.
If removal isn’t practical, at least loosen all clamps fully so the cap lifts enough to access the seal channel on both sides.
Absolutely. A dent or bend in the bed rail creates a gap the seal can’t bridge, no matter how fresh the rubber is.
Inspect the rails carefully before replacing the seal. Minor dents can be tapped out with a rubber mallet and a block of wood; deeper damage may require a body shop to restore the rail to a flat plane.