
How Ranch's Integrated Mounting Rails Actually Secure the Cap to Your Truck Bed
Most truck cap leaks and rattles trace back to one root cause: the mounting system itself. Ranch addresses this with an integrated rail design that distributes clamping force across the entire bed perimeter instead of relying on a handful of isolated clamps or stake-pocket hooks.
This guide walks through exactly how that aluminum extrusion secures the cap, why continuous contact matters for both weather sealing and structural stability, and what makes the design different from older clamp-on approaches. We’ll also cover torque specs, seasonal adjustments, and the parts you can inspect or replace if something shifts over time.
The Continuous-Rail Architecture
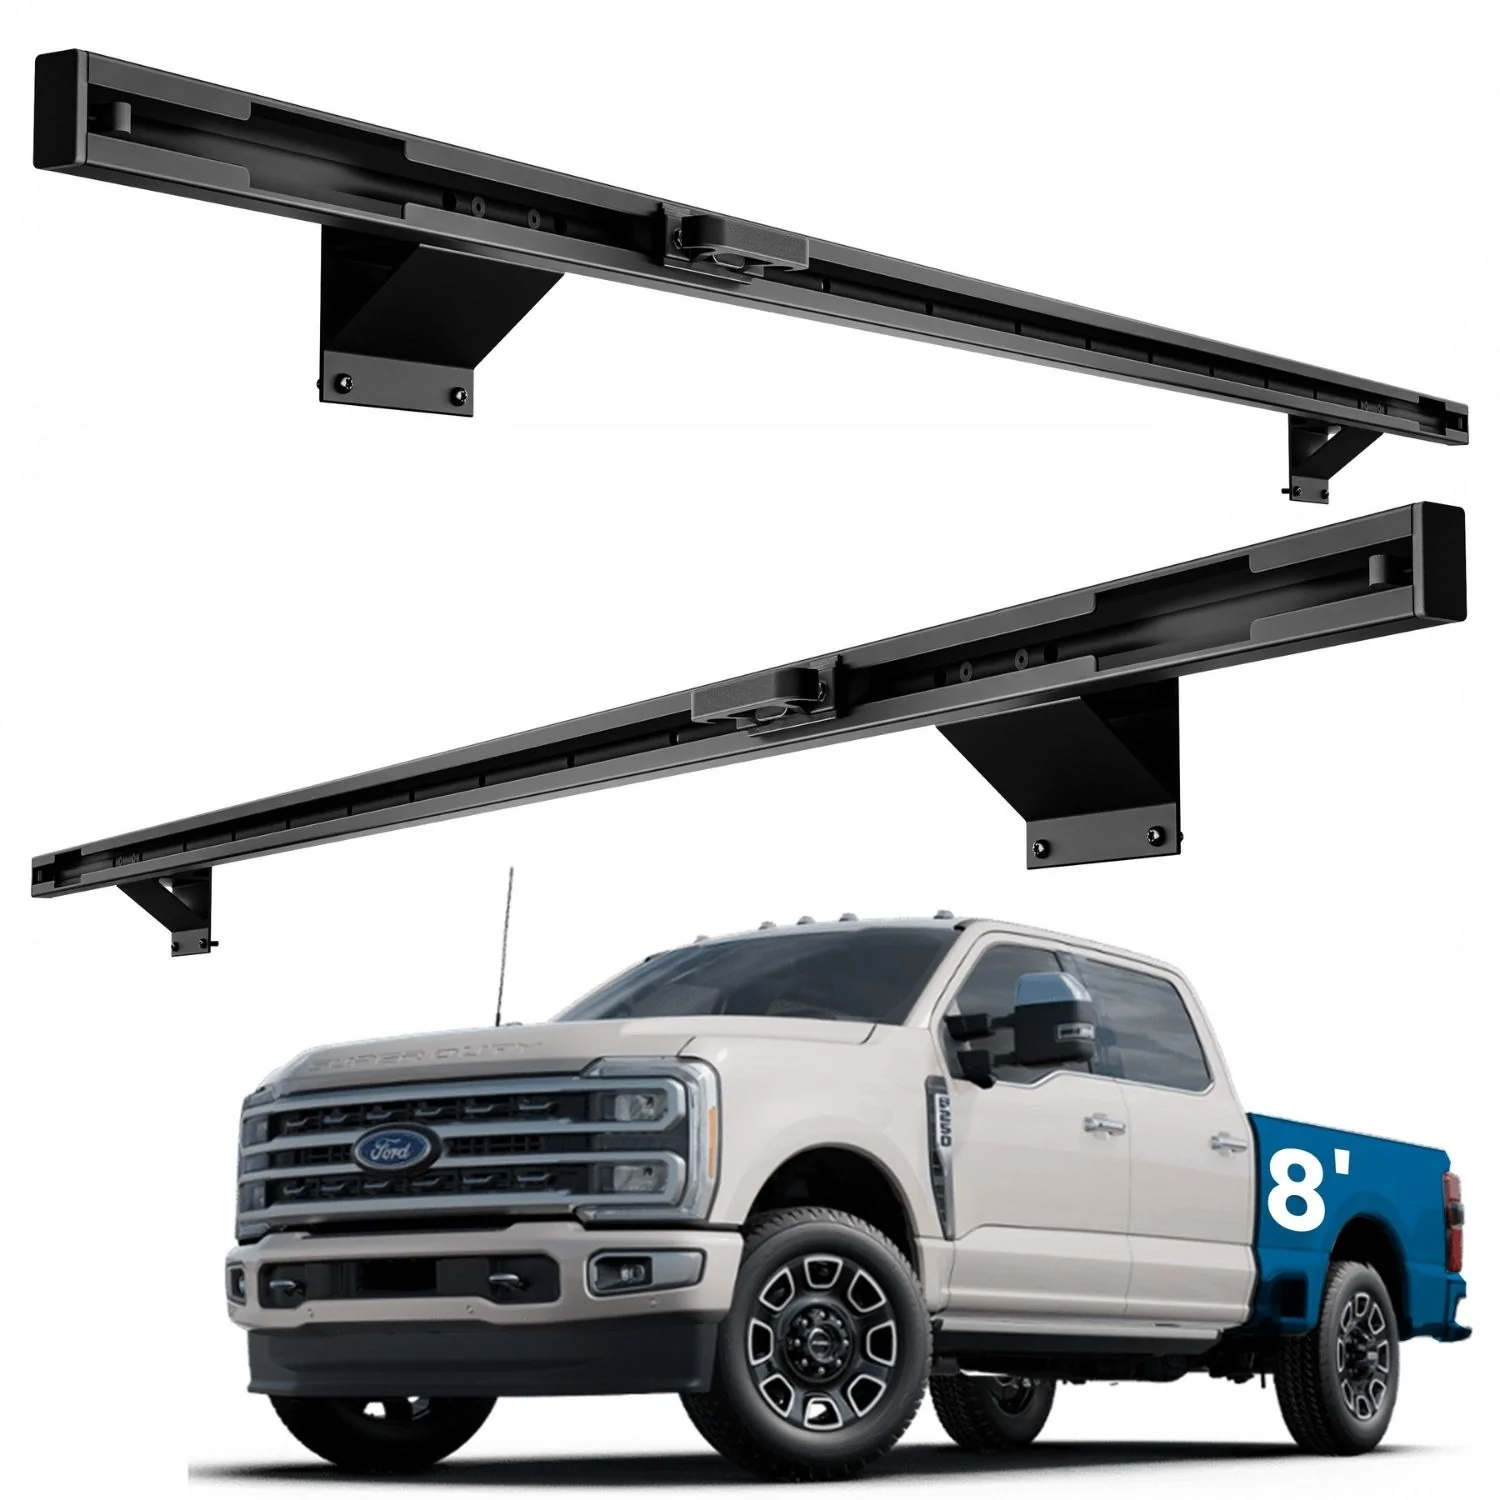
Ranch caps mount via a single-piece aluminum rail that runs the full length of each bed side, front header, and tailgate edge. Each rail bolts through pre-drilled holes in the cap’s lower flange, creating a rigid frame that sits directly on the truck’s bed rails.
The bed itself provides the reference surface—Ranch machines the rail’s lower face flat so it mates cleanly with the top edge of the bed without shims. A bulb-style EPDM gasket sits between rail and bed, compressed evenly when the through-bolts are torqued.
This differs from stake-pocket systems, which concentrate load at four to six points and leave gaps between. Continuous contact means wind uplift is resisted along the entire perimeter, not just at isolated clamps.
Clamping Mechanism and Torque Distribution
Through-Bolt Spacing
Ranch spaces the rail mounting bolts every twelve inches, threading into captured nuts welded inside the rail extrusion. Each bolt applies downward force to compress the gasket at that point, but because the rail is rigid aluminum, the clamping effect spreads laterally between bolts.
Factory torque spec is 15 ft-lb for the 5/16″ hex-head bolts—tight enough to flatten the gasket fully but not so tight that the aluminum threads strip. Over-torquing deforms the rail; under-torquing allows the cap to shift or the seal to leak.
Load Path and Gasket Compression
When torqued correctly, the EPDM bulb compresses to roughly 60% of its unloaded height. That compression creates the actual weatherseal and also generates friction between rail and bed that resists lateral movement. The National Highway Traffic Safety Administration (NHTSA) hasn’t issued specific standards for truck-cap retention, but the distributed-clamp approach follows the same engineering principle used in cargo-tie-down systems: more contact points, lower peak stress per point.
Front Header and Tailgate Interface
The front rail bridges the bed header just behind the cab, clamping across the full width in one continuous piece. Because this rail sees the highest aerodynamic load during highway driving, Ranch uses a taller extrusion here with an extra row of bolt holes for added retention.
At the tailgate, the rail wraps the rear edge and includes two outboard tabs that align with the tailgate’s hinge pockets. When the tailgate is closed, those tabs nest into recesses, preventing the cap from sliding rearward under braking.
If you’ve dealt with seal leaks on your Ranch fiberglass cap, the front header is the first place to check torque—expansion and contraction from temperature swings loosen bolts here faster than on the side rails.
Seasonal Adjustment and Maintenance
Aluminum and steel expand at different rates, so the rail-to-bed interface shifts slightly with temperature. Ranch recommends re-torquing all mounting bolts once after the first month of installation, then annually before winter and summer.
In freezing climates, ice can form between the gasket and bed rail if moisture wicks under the seal. This lifts the cap slightly and breaks the compression seal. The fix is straightforward: loosen all bolts one quarter-turn, let the cap settle under its own weight, then re-torque in sequence from center outward.
If locks freeze during that same cold snap, here’s the fix for frozen Ranch cap locks—lubricant choice matters more than heat, and the striker plate can shift if the mounting bolts have loosened.

Replacement Parts and Field Serviceability
Rail Sections
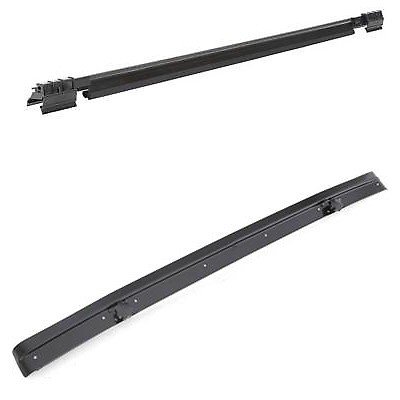
Each rail extrusion is a separate part number—side rails, front header, and tailgate rail are not interchangeable. If one section is damaged, you can replace just that piece without removing the entire cap. The bolts thread into captive nuts, so there’s no risk of spinning a nut inside the rail during removal.
Gasket and Hardware
The EPDM gasket is sold by the foot and press-fits into a groove machined into the rail’s lower face. It doesn’t require adhesive—friction and compression hold it in place. Replacement bolts are Grade 5 zinc-plated hex-head cap screws, available at any hardware store if you need spares in the field.
Ranch publishes a torque-sequence diagram in the owner’s manual that ships with every standard cap—start at the center of each rail and work outward in alternating steps to avoid binding the extrusion.
Why the Rail Design Outlasts Clamp-On Systems
Continuous-rail mounting spreads aerodynamic and vibration loads across dozens of bolted joints instead of concentrating stress at a few clamps. That’s why Ranch caps stay sealed and rattle-free longer than stake-pocket designs—there’s no single point of failure.
The trade-off is slightly longer installation time, but the design is fully field-serviceable with hand tools and requires no modification to the truck. Re-torque twice a year, replace gaskets when they flatten, and the system will outlast the cap itself.
Common Questions About Ranch's Rail-Mount Design
No. The mounting bolts pass through holes in the cap’s rail flange and clamp down onto the top edge of the bed rail itself—no penetration of the bed floor or sidewalls. The factory bed-rail surface is the only contact point.
Re-torque all bolts after the first 30 days of use, then twice a year—once before summer heat and once before winter cold. Temperature cycling loosens fasteners more than vibration does in this truck cap mounting system.
One person can remove it if the cap is lightweight aluminum and the bed is short. Longer fiberglass caps are easier with two people because the front header and side rails don’t separate—you lift the entire assembly as one piece once all bolts are out.
That rail section can be replaced independently. Unbolt the damaged piece, slide the gasket out of its groove, install the new extrusion with a fresh gasket, and torque the bolts to spec. The cap doesn’t need to come off the truck for a single-rail replacement.
Yes—EPDM takes a permanent compression set during the first few weeks. That’s why Ranch requires a re-torque after the first month. After that initial set, the gasket remains stable for years unless exposed to petroleum solvents, which degrade the rubber.
Any Grade 5 or higher 5/16-inch hex-head cap screw works, as long as the thread pitch matches the captive nuts in the rail. Avoid stainless steel—it galls against the aluminum threads. Zinc-plated steel is the correct material and widely available.